Same day shipping on orders in by 2PM EST!
Mastering the Metal: Your Guide to Using a Heel Dolly
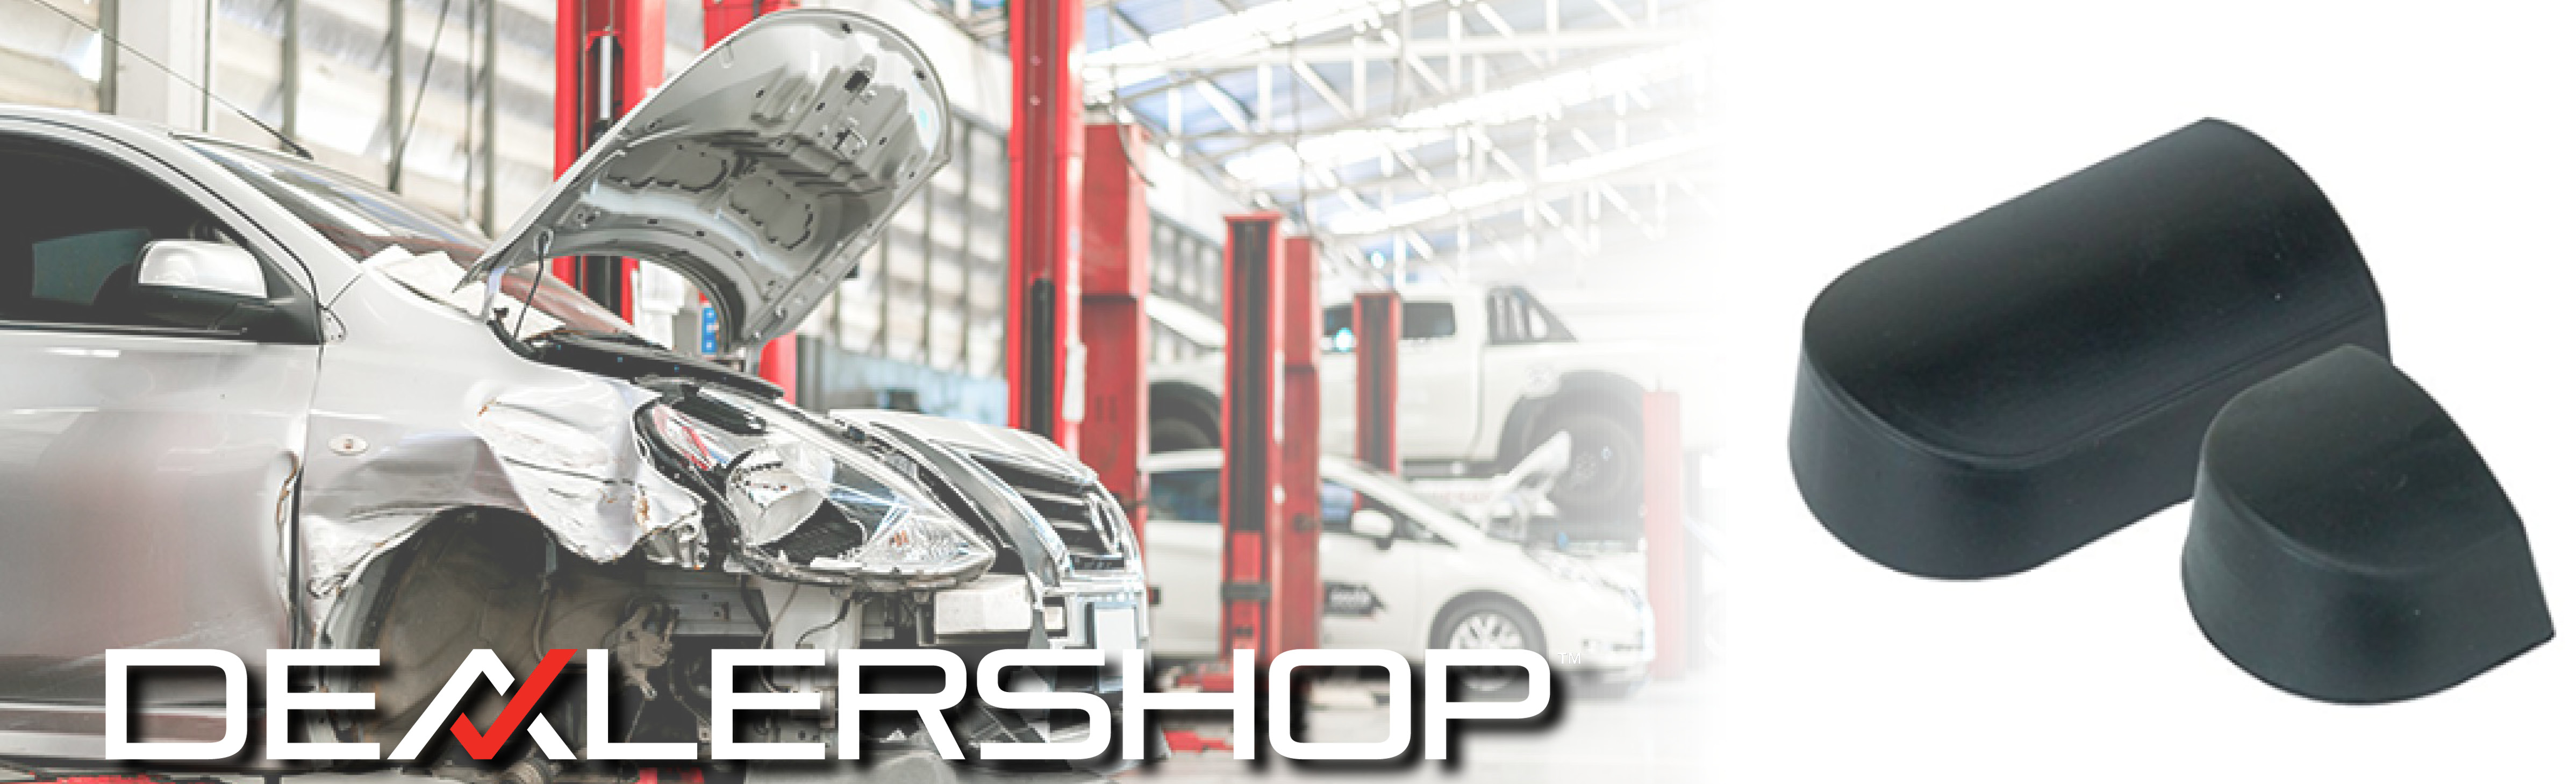
The humble heel dolly is an essential tool in any metalworker's arsenal. This unassuming block of steel or rubber plays a crucial role in shaping and smoothing sheet metal, especially in autobody repair. But if you're new to metalworking, using a heel dolly effectively can seem like a daunting task.
Fear not! This guide will break down everything you need to know about using a heel dolly, from choosing the right tool to mastering the techniques.
What is a Heel Dolly?
A heel dolly is a small, anvil-like tool with a rounded or curved working surface. It's typically made of steel or hard rubber and is used in conjunction with a hammer to manipulate sheet metal. The rounded surface allows you to spread and smooth out metal without creating sharp creases or wrinkles.
Types of Heel Dollies
There are two main types of heel dollies:
- Standard heel dolly: This is the most common type, with a smooth, rounded working surface. It's ideal for general shaping and smoothing work.
- Stretched heel dolly: This dolly has a longer, flatter working surface, making it perfect for reaching into tight spaces and working on curves.
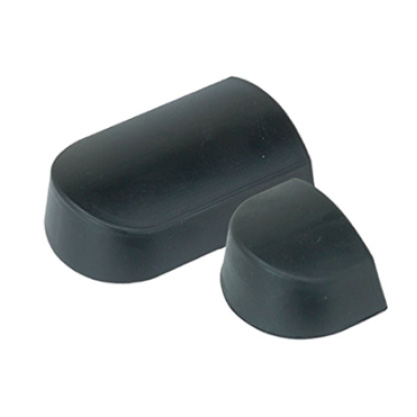
If you're looking for a high-quality, versatile heel dolly set, the AES Industries 12-K-240 is a great option. This set includes both a standard and stretched dolly, giving you the flexibility to tackle a wide range of tasks. The rubber coating protects the metal from marring and provides a bit of cushion, making it ideal for working on thinner sheet metal.
If you're looking for a high-quality, versatile heel dolly set, the AES Industries 12-K-240 is a great option. This set includes both a standard and stretched dolly, giving you the flexibility to tackle a wide range of tasks. The rubber coating protects the metal from marring and provides a bit of cushion, making it ideal for working on thinner sheet metal.
Using a Heel Dolly: The Basics
Here's a basic overview of how to use a heel dolly:
- Position the dolly: Place the dolly behind the area you want to work on, with the rounded surface facing the metal.
- Grip the hammer: Hold the hammer firmly with your dominant hand, keeping your grip loose and relaxed.
- Strike the dolly: Gently tap the dolly with the hammer, using a glancing blow. The hammer should not hit the metal directly.
- Move and repeat: Continue tapping and moving the dolly until you achieve the desired shape
Tips for Success
- Start light: When you're first starting, use light hammer blows to avoid overworking the metal.
- Work gradually: Don't try to make big changes all at once. Take your time and make small, incremental adjustments.
- Use the right dolly: Choose the dolly that best suits the shape you're trying to achieve.
- Practice makes perfect: The more you practice, the better you'll become at using a heel dolly.
Beyond the Basics: Advanced Techniques
Once you've mastered the basics, you can start to explore more advanced techniques, such as:
- Stretching metal: Use a stretching spoon or dolly to gently stretch the metal to the desired shape.
- Creating beads and curves: Use the edge of the dolly to create sharp beads or gentle curves in the metal.
- Shrinking metal: Use a shrinking disc or block to shrink the metal before smoothing it out with the dolly.
With a little practice, you'll be using a heel dolly like a pro in no time. Remember, the key is to start slow, work carefully, and choose the right tool for the job. And if you're looking for a versatile, high-quality heel dolly set, the AES Industries 12-K-240 is a great option to consider.
I hope this blog post has been helpful. If you have any questions and or would like to see more content like this, become a member of DealerShop today!
Happy hammering!
| Email this Page |
| Print this Page |
| Share |